
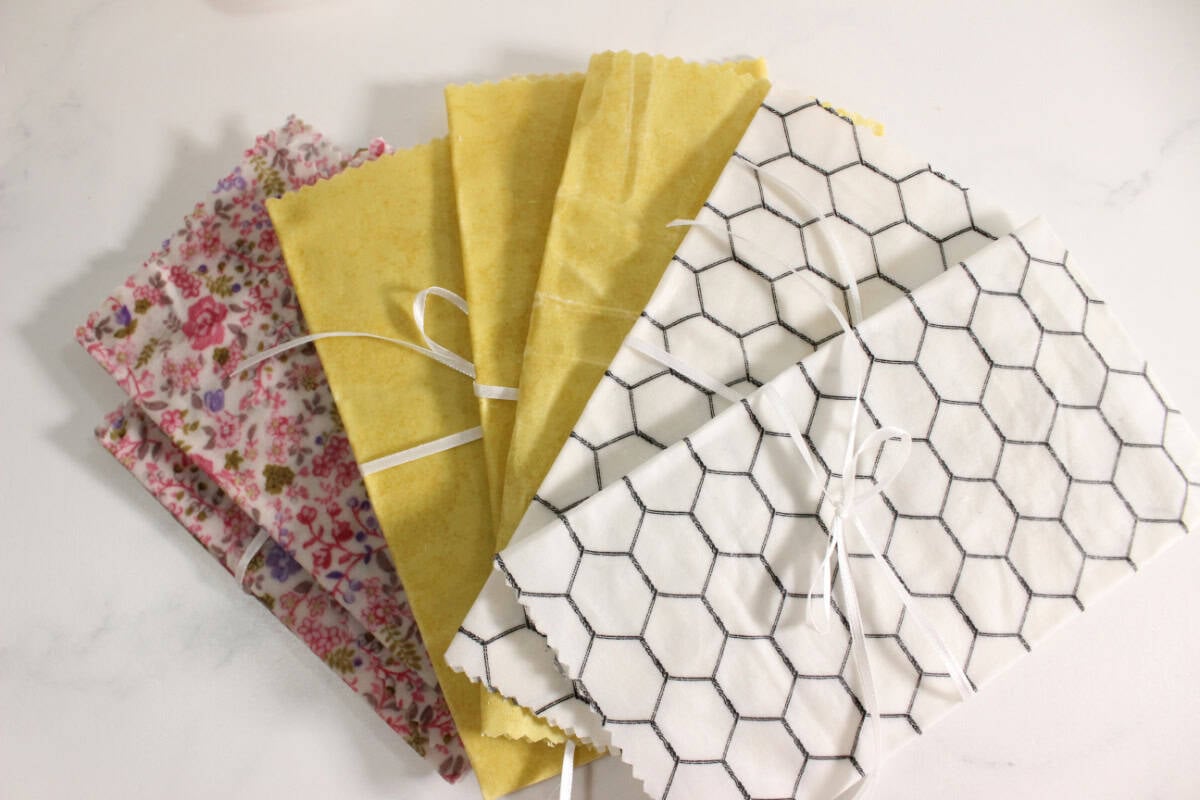
Easy DIY Beeswax Wraps
Reduce plastic use and see how easy it is to make your own beeswax wraps for all your kitchen needs.
Have you ever bought beeswax wraps and thought, hmm… I could probably make these myself?
Honestly, if I had known how easy they are to make, I would have stocked my kitchen with a pile of them much sooner.
I think my favorite part is that you don’t have to have sewing skills, or really any skills at all to make simple food wraps that you can use every single day.

Whether you’re trying to get away from more microplastics in your food – or just enjoy more sustainable items in your home – DIY beeswax wraps can be a great solution.
This site contains affiliate links to products. As an Amazon associate, I earn from qualifying purchases. Please read my disclosure for more info.
Uses for Beeswax Wraps
Most people use beeswax wraps in the kitchen for covering bowls and containers of leftovers.
One of my favorite uses is for covering the ends of 5-lb blocks of cheese that we get from Azure Standard.
But there are many other ways these wraps can come in handy. You can:
- Make into little pouches for snacks on the go
- Cover bars of soap or other messy items when traveling
- Wrap flower bouquets to give away
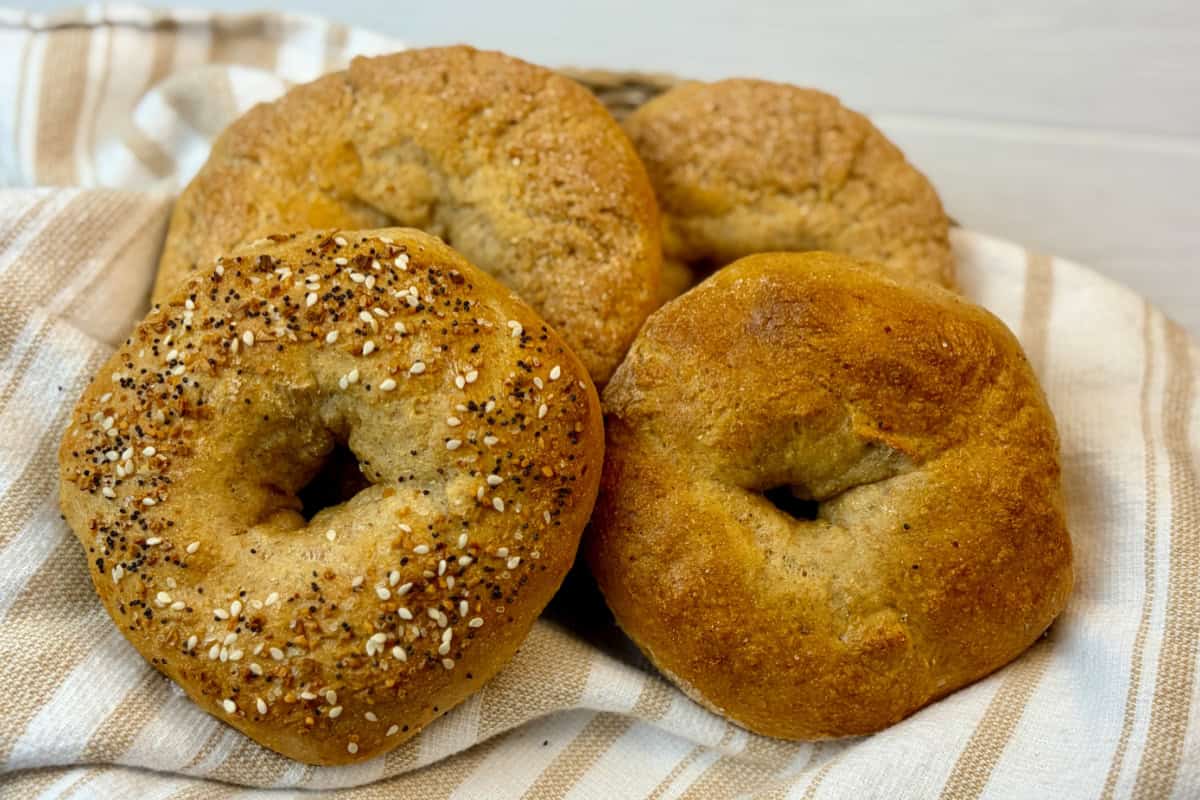
- Cover loaves of homemade bread or other baked goods
- Give as gifts

You can probably come up with a dozen other uses! Beeswax wraps are very versatile and last a long time with proper care.
Other Reasons to Love DIY Beeswax Wraps for Food Storage
Did you know beeswax-coated cotton wraps are more breathable than plastic? This means you may find your food lasts longer and is less susceptible to mold.
When they’re no longer usable, you can throw them in the compost bin and think of all the plastic you didn’t throw into a landfill.
And let’s not overlook the most obvious benefit: cost savings! We used to spend WAY too much on plastic quart bags before discovering this reusable option.

If you search the bargain bins at fabric stores, you can save even more.
How to Make Your Own Beeswax Wraps
You only need to gather a few items to make your wraps:
- 100% cotton fabric
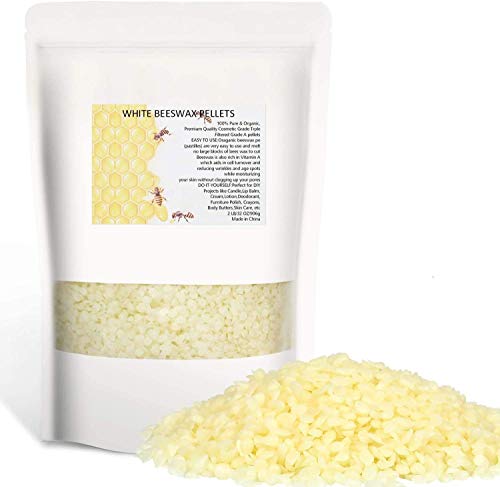
- Beeswax pellets
- Parchment paper or baking mat
- Baking sheet
- Fabric shears

After cutting your fabric into the desired sizes, you’ll simply scatter beeswax pellets on top and bake it on a low temperature in the oven until it’s melted.

You may need to spread it around a little with a silicone basting brush or spatula, but most of the time it spreads on its own.
Let them cool, and voila! You have basic beeswax wraps.
After they cool, you can fold them into squares or store them flat.

When you’re ready to use them, you’ll want to place them on the food container and run your hands over it to warm up the wax a little so it will mold to the shape of the container and seal it.
(See the How-To Card at the bottom of the post for detailed instructions).
Maintaining Beeswax Food Wraps
You’re probably wondering how to take care of your wraps after you use them.
One of the nice things about beeswax is that it repels a lot of food residue. I find that I rarely need to clean mine.

But when they do need a cleaning, simply wipe them off with a wet washcloth and spread them out to dry. If you need to use soap, use something mild like castile soap for best results.
Your beeswax wraps can last a year or much longer, depending on how often you wash and re-use them.

How to Make Beeswax Wraps
Save money with healthier, sustainable beeswax food wraps.
Materials
- 100% cotton fabric
- Beeswax pellets
Tools
- Fabric shears
- Parchment Paper
- Baking Sheet
Instructions
- Wash fabric in a mild detergent; dry.
- Cut into desired sizes.
- Heat oven to 220° F.
- Place fabric squares on parchment-lined baking sheet.
- Scatter beeswax pellets evenly over fabric.
- Bake for 8-10 minutes or until beeswax is melted.
- Add more wax to any dry spots or corners, if needed, and put back in oven a few minutes longer until melted.
- Remove fabric carefully and place on cooling rack to dry.
- When ready to use, place around container or object and run your hands over it to warm it up and help it to mold to the item & seal it.
Notes
*Use new, washed & dried fabric (not used).
*Check bargain bins at fabric stores for more savings.
*Use water to spot clean, or a mild soap like castile soap when needed.
*Can store flat or fold.
Recommended Products
As an Amazon Associate and member of other affiliate programs, I earn from qualifying purchases.


You might also like:
Crunchy Homemade Gifts (that don’t look homemade)
Homemade Stick Deodorant Recipe


Do we need to wax both sides?
No, it will soak into the fabric so you can just spread it over one side.