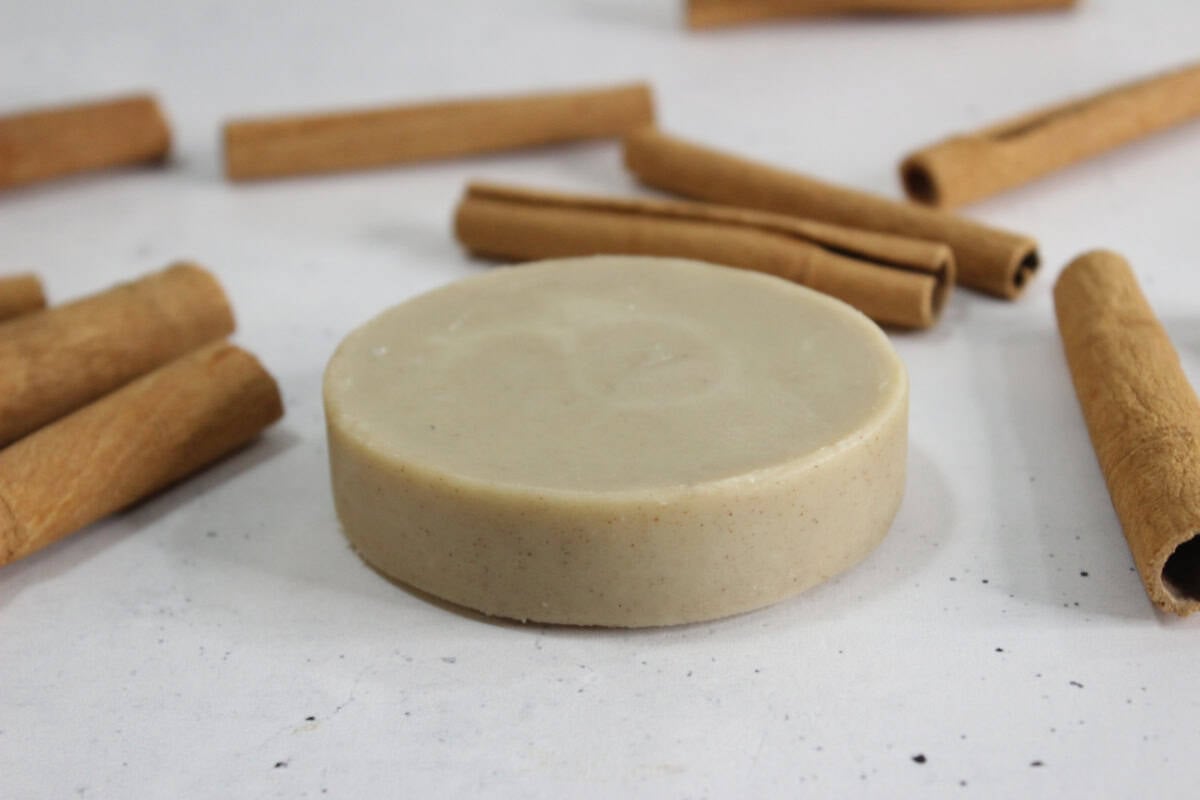
Warming Cinnamon Lotion Bar Recipe
Ever wondered how to make a solid lotion bar? This one is a great beginner recipe that warms as it moisturizes!
Do you ever feel like there’s so many DIY projects, so little time?
The idea of a solid lotion bar recipe has been on my mind ever since I received one as a gift a few years back.
I decided it’s finally time to make my own lotion bars and I want to share this easy process with you, too.
I love how convenient and long-lasting a solid lotion bar can be, and the fact that it also makes a fantastic gift at Christmas time!
If you’ve ever wanted to learn how to make a lotion bar, you’ll find all the details in this post.
What’s so great about lotion bars?
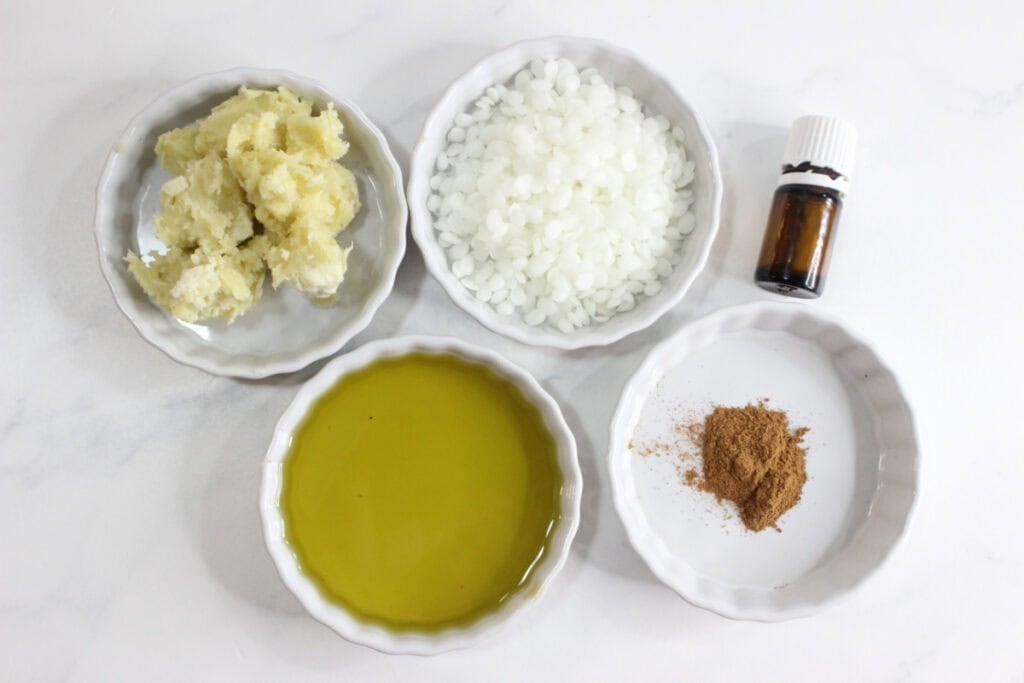
First of all, if you’ve made homemade soap, salves, or lip balms, you probably have most of the supplies needed for this project, like:
- Shea butter
- Beeswax pellets
- Silicone molds
- Essential oils
- Carrier oils (avocado, olive oil)
Shea butter and beeswax make for a natural, deeply hydrating lotion base that locks in moisture. Beeswax includes the additional benefits of being antimicrobial, antibacterial and antifungal.
Certain essential oils do give these bars the warming sensation as you rub them on your hands, so don’t skip them if you want that effect!
However, if you don’t have the individual oils listed in the recipe, don’t fret. You can probably find a blend like this one from Plant Therapy that contains them all.
One of my favorite things about lotion bars is that they’re not messy or greasy! No more shooting lotion across the room.
I like to keep my DIY lotion bar on a small dish by the sink to use after washing & drying my hands.
You can also find metal tins of various sizes to fit your lotion bars, if you want to make them more portable and giftable.
(Shrink wrap would also work.)
How to make warming lotion bars
This is a project that doesn’t require a lot of hands-on time. You can make lotion bars in an afternoon, and they’ll be ready to use the next morning!
You will start with melting shea butter, beeswax pellets and a carrier oil like avocado oil over a double boiler.
Once these are melted, you can add the cinnamon powder and let it infuse on low heat for a few hours. This helps the scent to disperse throughout the mixture.
Watch your pan closely, stirring frequently. You want to make sure your ingredients do NOT boil, and that water from the pan below doesn’t get into the mixture.
You’ll remove the top portion of the double boiler pan and allow it to cool for a while but not harden. Then you can add the essential oils.
*Adding essential oils to a mixture that’s too hot can cause them to burn off and be less effective / scented.
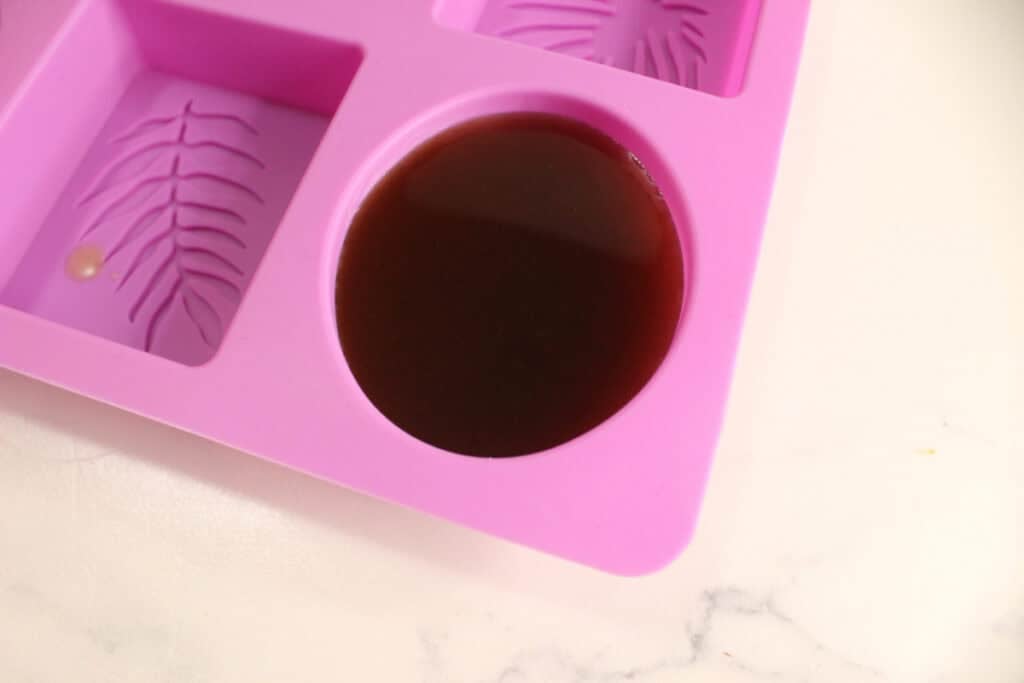
After stirring in the essential oils, you’ll be ready to pour your bars into a silicone mold.
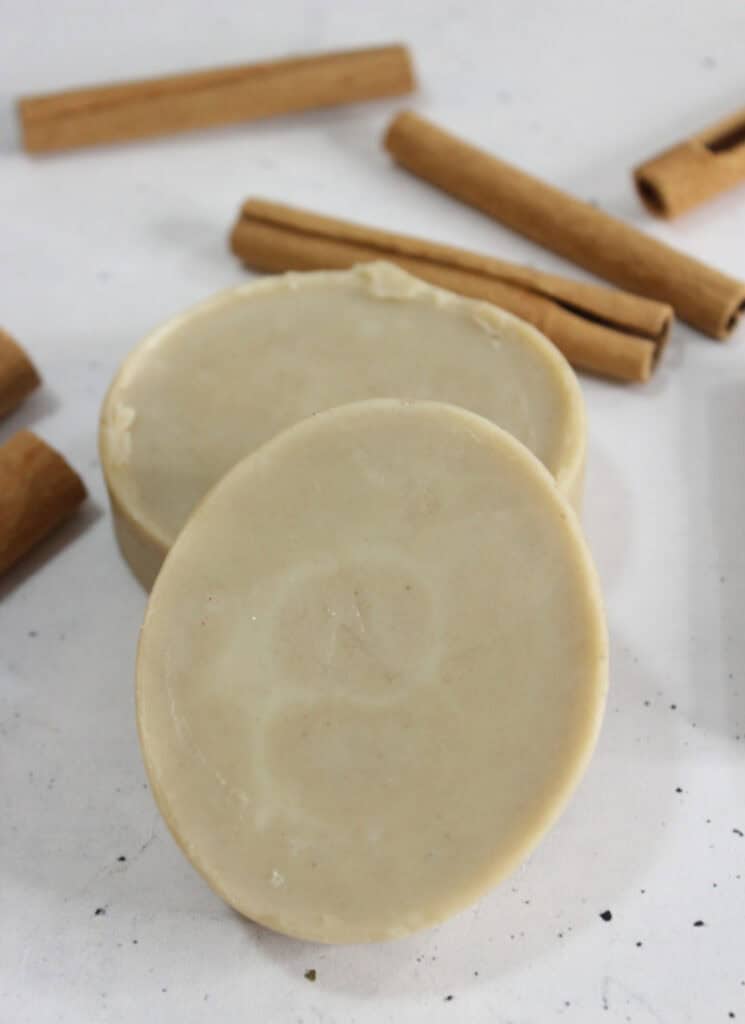
After letting the lotion bars harden, they are ready to use.
I think you’ll love how the beeswax and shea butter soften your skin. And the fragrant, warming effect in the colder months is really nice!
DIY Warming Lotion Bar Recipe
Warming essential oils make this moisturizing lotion bar an added comfort in cold months.
Ingredients
- 3 Tablespoons shea butter
- 1/4 cup beeswax pellets (white)
- 1/4 cup carrier oil such as avocado oil
- 1/2 teaspoon cinnamon powder
- 10 drops ginger essential oil
- 8 drops clove essential oil
- 5 drops cardamom essential oil
Instructions
- Melt the shea butter, beeswax, and carrier oil in a double broiler on low heat.
- Add the cinnamon powder and let infuse in the mixture for up to a few hours. *Do not let boil or let water into the top pan!
- Remove from heat and let cool for a while without letting it harden.
- Stir well; add essential oils.
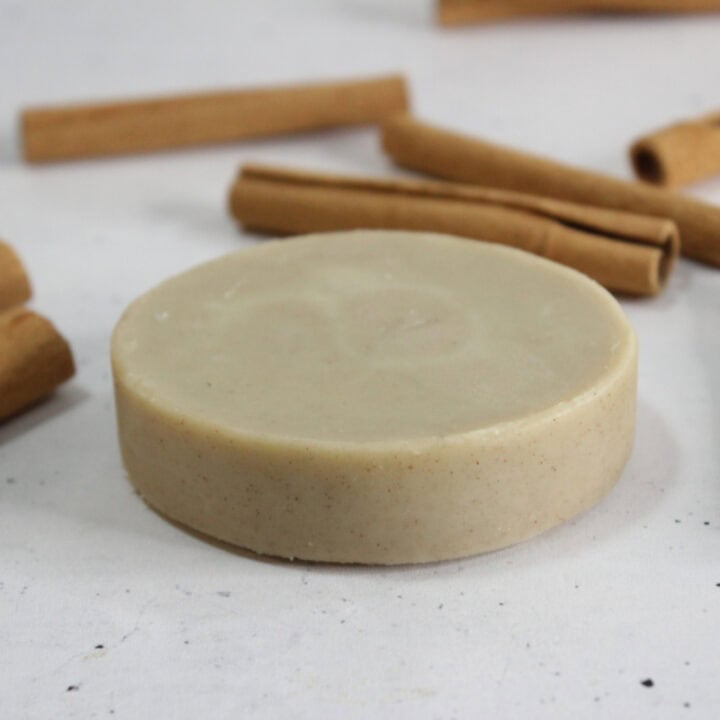
- Stir again. Pour into molds (approximately 2 molds if using one similar to the one pictured).
- Let cool overnight (see notes).
Notes
*If you're going to place in a plastic wrapper or container, it's best to let it dry a little on the counter (or in the mold) for a few extra days. This allows it to dry a little more, so it won't smudge all over the packaging.
*You can use a similar essential oil blend instead of the individual oils for cost savings.
*Other carrier oils you can use include fractionated coconut oil or olive oil.
*Cinnamon essential oil is another warming oil that could be substituted for the ones listed -- but be very cautious (use only a drop or two) as it can be too hot on the skin for some!
You might also like:
Rose Infused Whipped Body Butter