

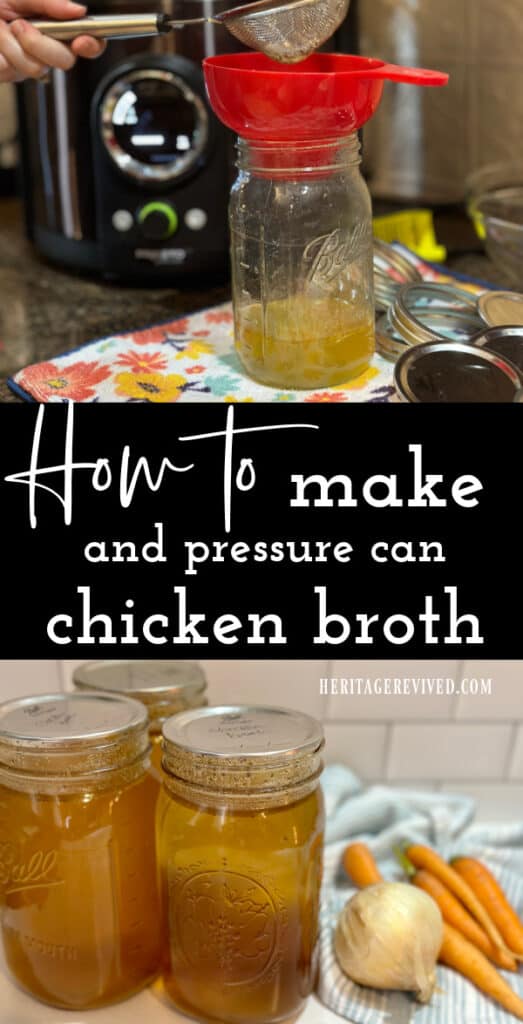
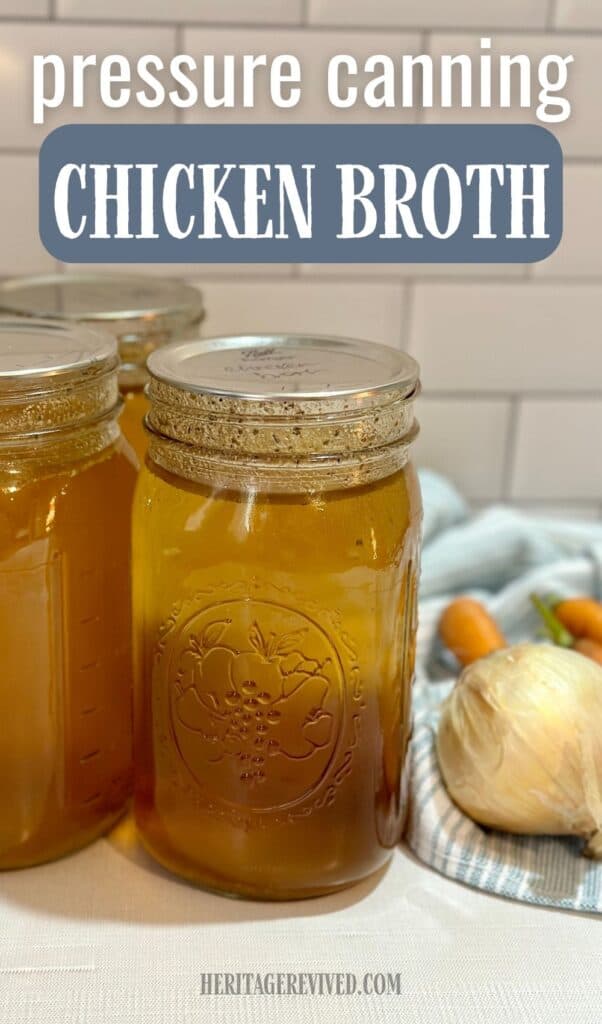
How to Can Homemade Chicken Broth (Recipe and Instructions)
Learning how to can homemade chicken stock is an essential (and easy!) skill. Use this simple guide to stock your pantry with nourishing broth year-around.
Chicken broth has become, over the years, one of my favorite things to pressure can.
There is something just homestead-y and simplistic about taking something I would otherwise throw out, and make it into healthy goodness, just waiting in my pantry.
And it’s not just about using up the chicken itself. You get to make use of any wayward veggies and herbs from the garden, fridge or freezer that you might have on-hand.
It’s kitchen thriftiness at its finest.
And the result is flavorful goodness, ready to use in a plethora of homemade meals.
Is it Chicken Stock or Broth?
Typically, chicken stock is made from just the bones. It’s cooked for longer, and you get a more gelatinous, even heartier product at the end.
Many people like to roast their chicken bones in the oven before making stock, for a deeper flavor and color.
The recipe I’m detailing below is considered more of a broth, because it’s not cooked for quite as long as stock, and it includes some of the meat scraps, as well as vegetables and herbs.
Both are great for different reasons, and I use stock and broth pretty interchangeably when making soups and other dishes.
This site contains affiliate links to products. As an Amazon associate, I earn from qualifying purchases. Please read my disclosure for more info.
How to make your own chicken broth
If you’ve never made chicken broth before, you’ll be surprised at how easy it is.
Full instructions for how to can chicken broth (with recipe) is included at the end of this post.
You can use several methods, but there are only a few basic ingredients you need:
- Chicken carcass or bones (some meat and skin left on is ok)
- Apple cider vinegar
- Salt
- Pepper
- Herbs
- Onion, garlic, celery, carrots (use what you have on hand)
- Large Stock pot or Instant Pot
When we cook a whole chicken, I make sure to use up as much of the meat as possible. If I don’t have time to make this broth within a few days, I throw the chicken carcasses into a freezer bag to make broth later.
On the day you’re making the broth, the entire chicken carcass goes into a pot, filled with water just covering the chicken, and a splash of apple cider vinegar.
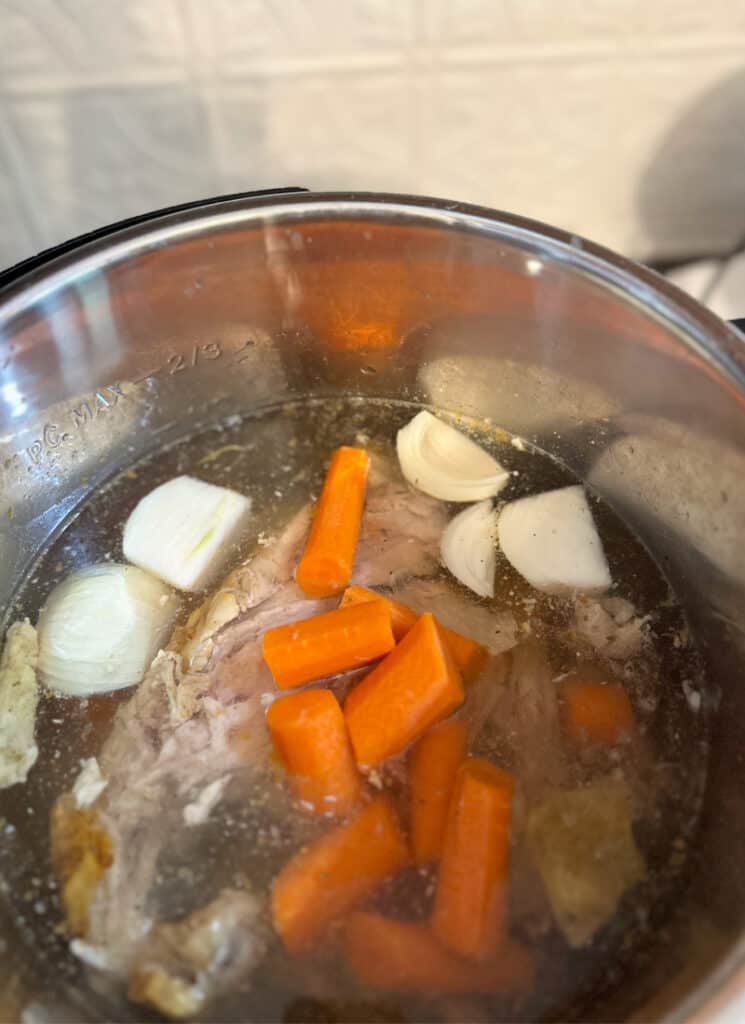
After letting it break down for about 30 minutes, it’s time to add the veggies and seasonings, and pressure cook- or simmer.
The process for the Instant Pot only takes about 2-1/2 hours from start to finish.
If you’re using a stock pot on the stove top, you can really decide how long you want to cook it, but I would suggest at least four hours on medium-low heat, covered.
This gives the flavors as well as the collagen and all the other good stuff enough mingle, break down and infuse your broth.
There is a lot of debate about the perfect amount of time to let broth simmer before it’s finished.
But it’s safe to say that this is mostly a matter of preference. Cooking longer will result in a more concentrated broth, and a little less of it in the end.
How to Can homemade chicken broth: Easy Method
After your stock is complete and still hot, you’ll be ready to pressure can your broth.
You can do this with a stovetop Pressure Canner, or an electric Pressure Canner like the one I’m using below.
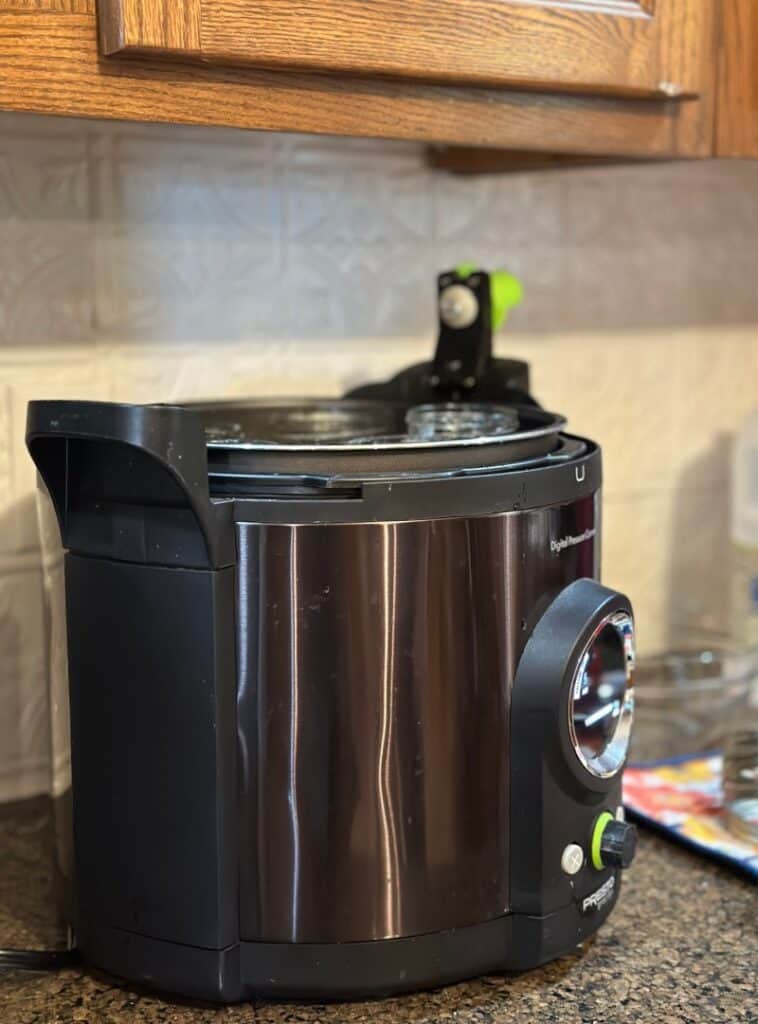
Mine is a Presto 12-Quart Electric Pressure Canner. It fits up to 6 quarts, which is enough for me to do small batches throughout the week. (That’s how I like to can!)
As far as I know, the Presto is the largest capacity electric canner available.
Please note: don’t be confused between Pressure Canners and Pressure Cookers.
I am using a Pressure COOKER (Instant Pot) to make my chicken broth, and then transferring the broth into jars, and canning (preserving) in a digital Pressure Canner.
You never want to attempt to use a regular Instant Pot or Pressure Cooker for canning. They are not made for this!
Transferring broth to jars
Using a fine mesh strainer, you can simply ladle the broth from your stockpot (or Instant Pot) into the strainer, right above your sterilized canning jar.
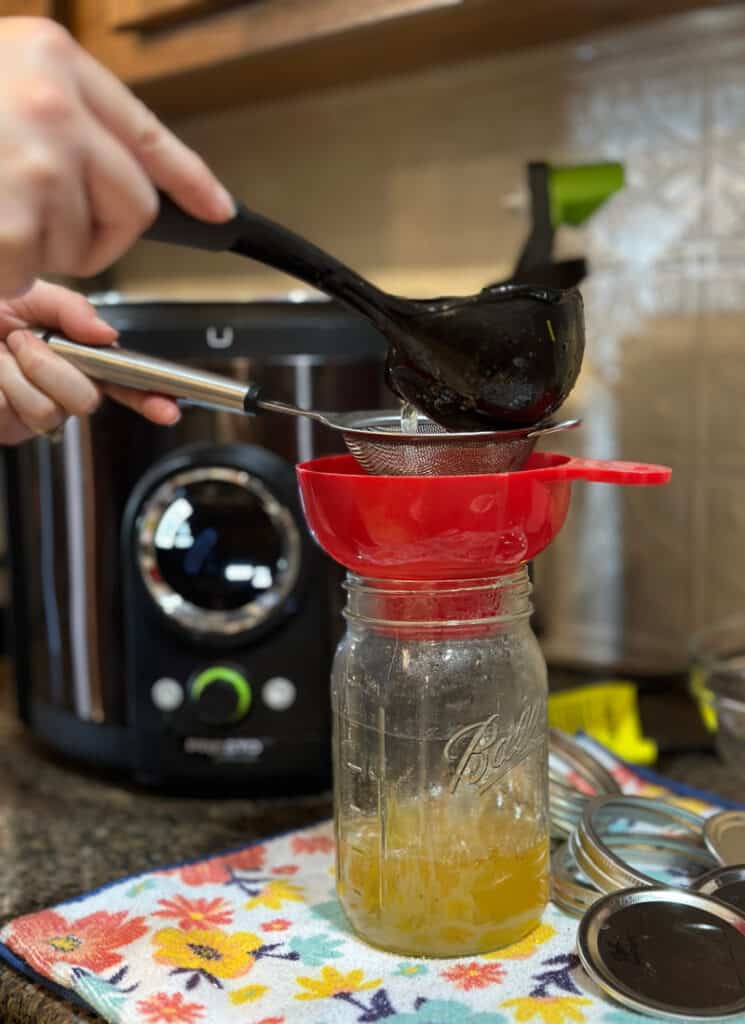
This save so much time versus straining with cheesecloth (traditional method).
I don’t mind at all having a little texture in my broth (spices, small bits of meat). If you want a really clear broth, though, you’ll need to use cheesecloth.
Pressure Canning Process
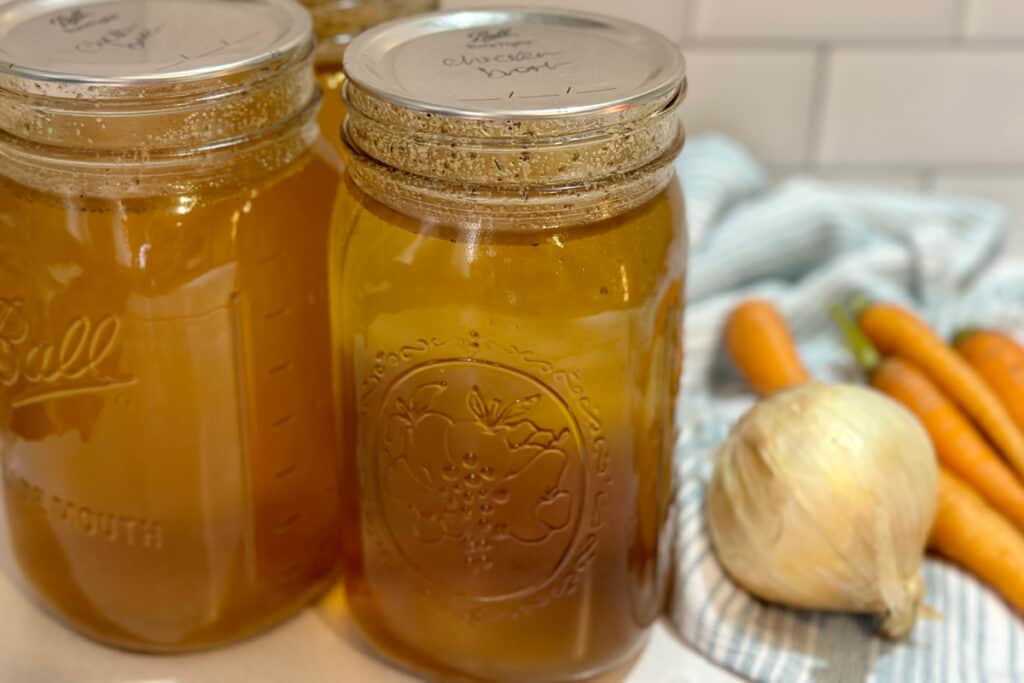
Fill quart jars, leaving 1-inch headspace. Wipe rims, add lids and finger-tighten your rings.
I have found recently that I have to tighten them a little more than I think is necessary to get them to seal. If you’re having trouble with faulty seals, try it! (I’m also trying out some new canning lids this year.)
Pressure can for 25 minutes, then carefully remove and leave untouched for 24 hours on the counter to ensure a proper seal.
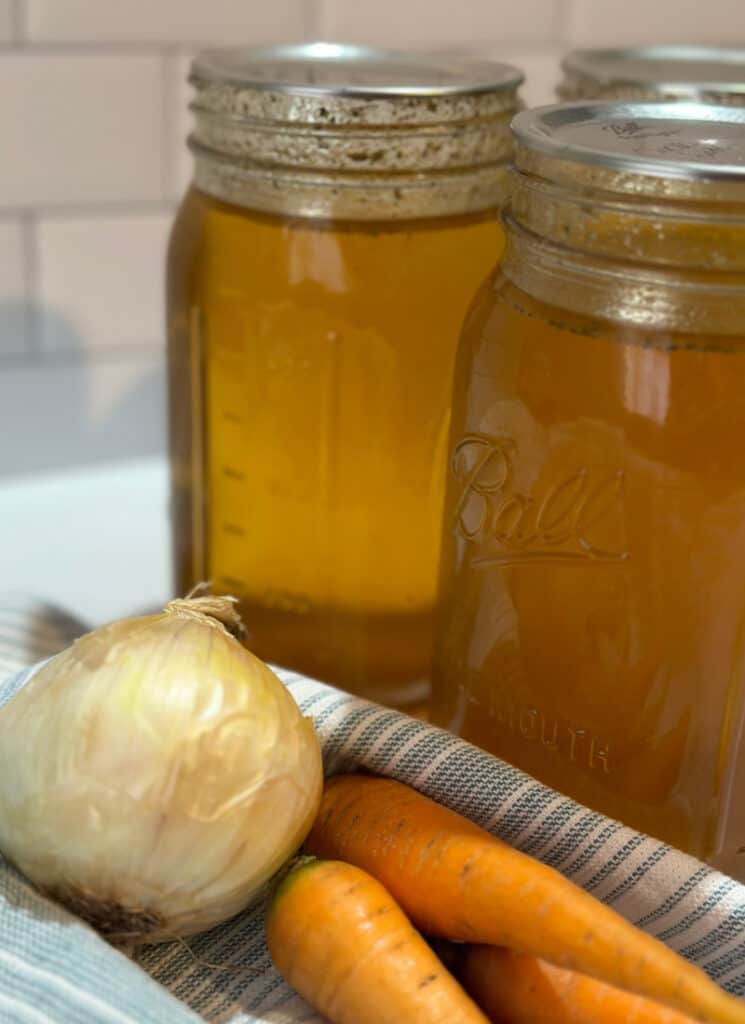
How to Can Homemade Chicken Broth (with recipe)
Make your own nourishing chicken broth to stock your pantry for soups and so much more.
Ingredients
- Chicken bones/carcass with most of meat removed
- 1/4 cup apple cider vinegar
- 3-4 carrots, peeled and quartered
- 1 onion, quartered
- 4 stalks of celery, quartered
- 2 garlic cloves, smashed
- 1 bay leaf
- 1 teaspoon dried rosemary
- 1/2 teaspoon dried thyme
- 1 teaspoon dried parsley
- 1/2 teaspoon dried sage
- 2 teaspoons salt
- Handful of peppercorns
Instructions
- Add chicken carcass to an 8-quart Instant Pot or similar sized stockpot or dutch oven on a stovetop. Add water just to cover the chicken.
- Add 1/4 cup of apple cider vinegar and let sit for 30 minutes.
- Add vegetables, herbs, salt and pepper, and enough water to cover everything.
- IF USING STOCKPOT ON STOVE: Simmer on low heat for 4-12 hours, covered with lid.
- IF USING INSTANT POT: Add enough water to reach "fill line" near top of instant pot insert. Secure lid into locked position; pressure cook on high for 2 hours. Use manual release once timer is up.
- While broth is cooking, clean 5-6 mason jar lids and rings and sterilize and heat jars.
- Hold a fine mesh strainer in one hand above jar funnel. Ladle the finished hot broth directly into strainer and into mason jars below.
- Leave one-inch headspace; wipe rims with a clean cloth and set lids on top of jars. Turn rings until finger-tight (just until you feel resistance, then a little more.)
- Add your filled canning jars to your pressure canner. Follow your pressure canner instructions for the correct amount of water to add to your pressure canner.
- Pressure can for 25 minutes. Once finished, carefully remove and let cool on a tea towel on countertop for 24 hours. Remove rings, wipe down jars with a clean dish cloth and store sealed jars in pantry.
Notes
- If you have hard water, add a splash of vinegar to your canning pot to prevent hard water stains. If you forget, wipe down with vinegar on a paper towel after jars are cool.
- Yield will vary greatly depending on size of stockpot and volume of water used. If you are using a larger stockpot and larger pressure canner, you may want use at least two chickens to keep from overly diluting the broth.
You might also like:
How to Can Tomato Sauce (no peel recipe)
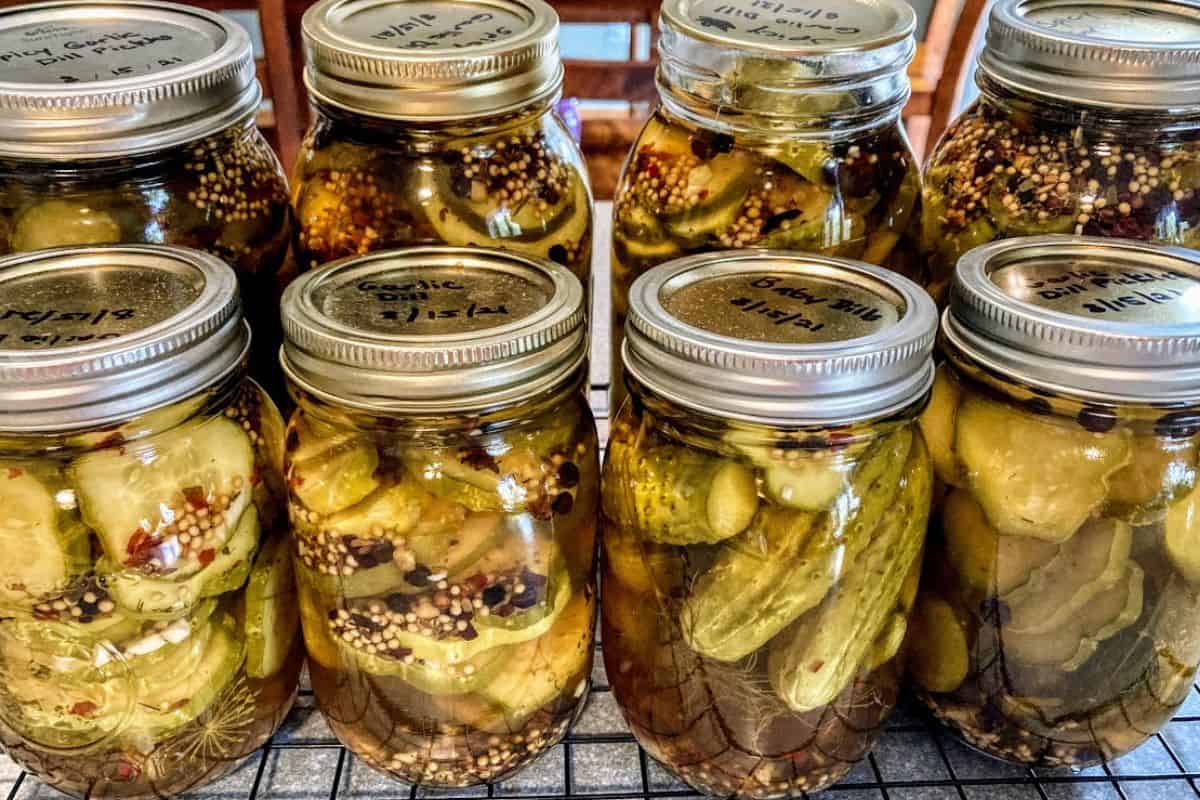
Preserving Vegetables without Freezing or Canning
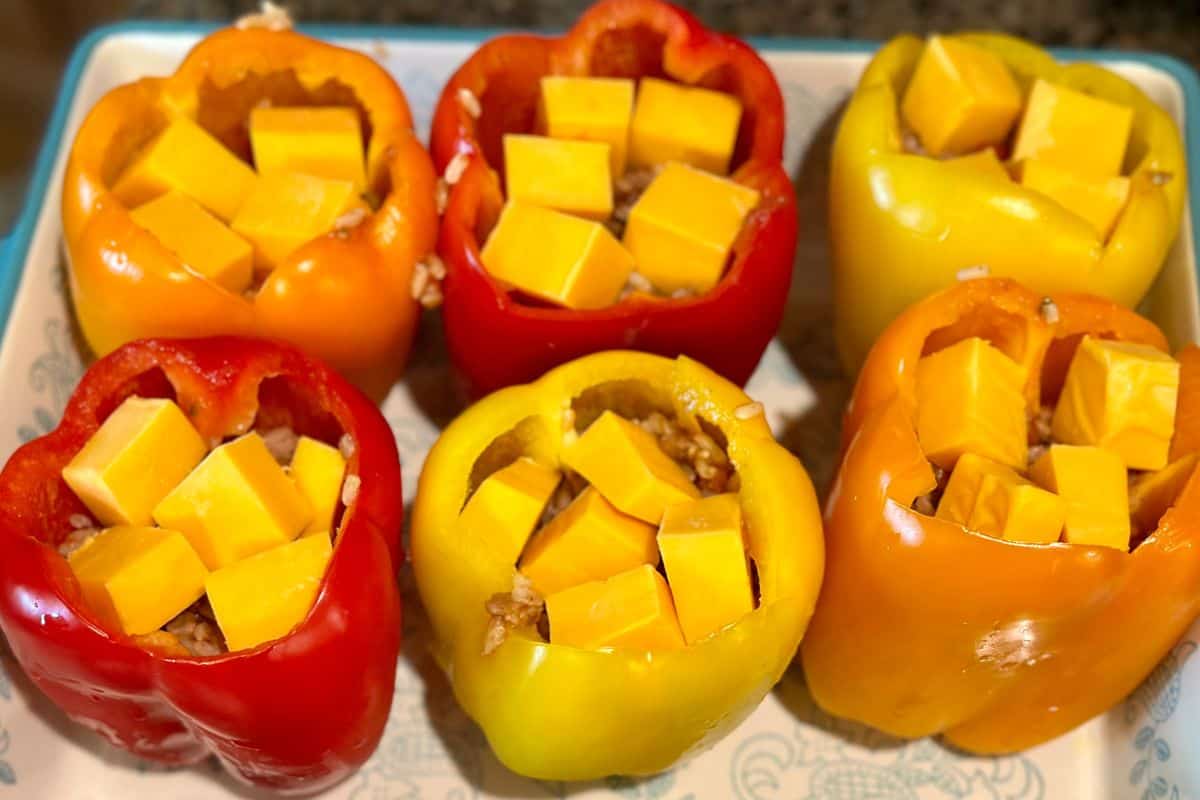
5-Ingredient Stuffed Peppers recipe
How to Make Shelf-Stable Ramen Soup mix


How would the pressure canning process change if using pint jars?
You can reduce the canning time to 20 minutes for pints!
How long does canned chicken broth last?
The general rule of thumb is around 12-18 months.
Can you water bath it?
No, any type of meat product needs to be pressure canned to reach safe temperatures. Sorry!
The recipe does not give how many pounds of pressure.
In a dial gauge pressure canner, chicken stock should be 11 lbs pressure for 0-2,000 ft elevation (or 12 lbs for 2,000-4,000 ft; 13 lbs for 4,001 to 6,000 ft and 14 lb for 6,001-8000 ft). In weighted gauge canner it’s 10 lb for 0-1,000 ft and 15 lbs above 1,000 ft.