Want to save money on filling your new raised garden beds? Try using some of the free or cheap materials on this list.
You’ve searched the internet far and wide for the best raised garden beds for your purposes.
Or, if you’re so inclined, you may have built your own raised beds (nice job!).
But if you’re like most people, you might now be wondering how you’re going to fill them up -without going broke.
Potting soil, compost and various soil amendments continue to rise in price each year. So it’s important to think outside the box.

This site contains affiliate links to products. As an Amazon associate, I earn from qualifying purchases. Please read my disclosure for more info.
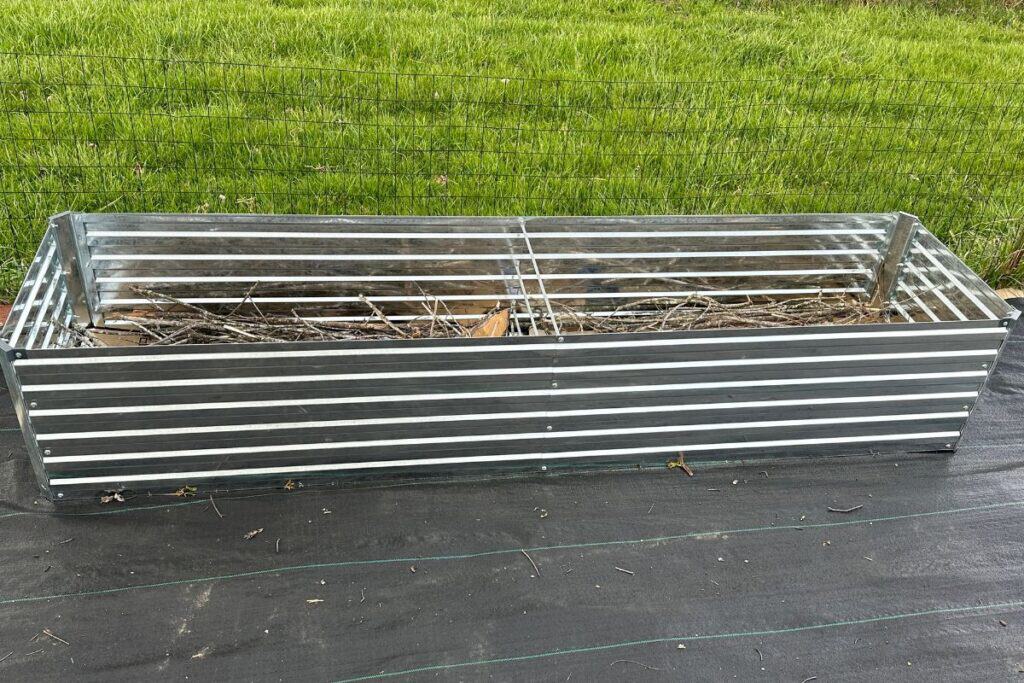
When we purchased these raised beds this year, I was excited about the depth and the additional space these would lend to my garden, placed just inside the perimeter of the fence.
My goal was to grow herbs in one bed and to transplant strawberry runners into two more beds.
Knowing that too much dirt could be costly – and could cause the walls of the beds to buckle under the weight – I started researching alternatives.
Preparing and filling raised beds (on a budget)
Below are some excellent free or cheap materials you can use to fill your raised beds. Most of them you might already have around your house or property.
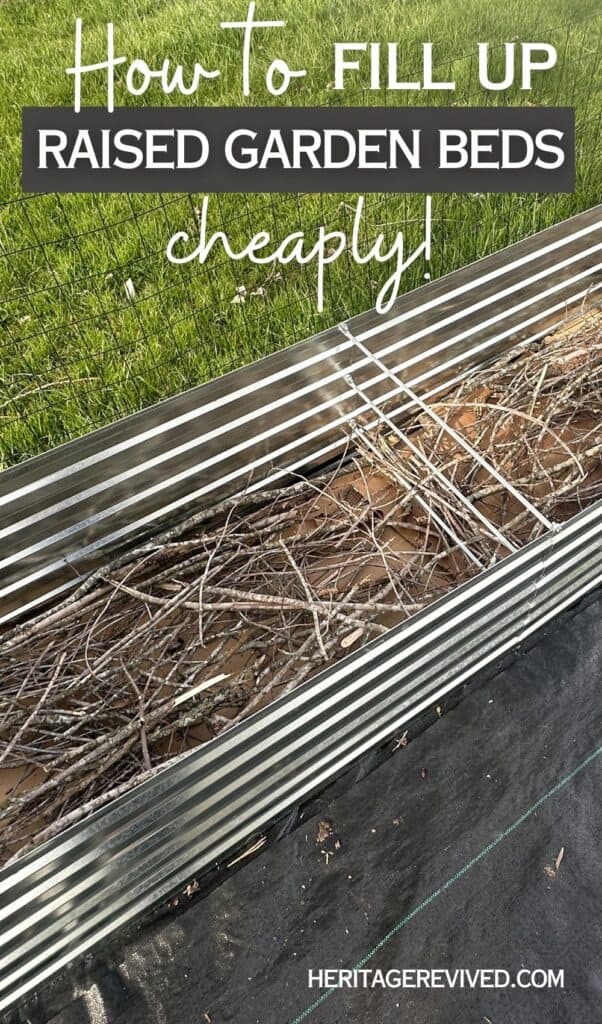
In general, you want to put the heaviest (slowest decomposing) materials on the bottom of the beds, and the light/fine materials like soil and compost on top.
I also recommend using heavy-duty landscape fabric underneath your raised beds. I placed mine in an area of our garden that was already mulched, but it had later been overtaken by Bermuda grass (also known as devil’s grass; aptly named, in my experience).
So I opted to lay a double layer of cardboard on top of the ground, followed by the heavy landscape fabric, and then the raised beds.
I also put one layer of cardboard at the very bottom of the raised bed for good measure!
Logs
Small logs make a great base layer, as they will decompose slowly over time. (If your raised bed is shallow or small, though, you may want to only use smaller branches as your base layer.)
Large branches
After a storm is a great time to look for large branches and layer them near the bottom of your raised bed.
Smaller branches/twigs
This is a great task for kids: find allll the twigs and sticks in the yard or in the woods. Layer on top of the larger branches below.
Large pieces of Cardboard
Save those boxes! Instead of sending them to the burn pile, repurpose them as useful filler for your raised beds.
They will break down more quickly than the tree branches, but more slowly than the upper layer of soil, and will add organic matter back to the soil over time.
Depleted soil
After putting down larger pieces of cardboard, I then layered some dirt from various containers from the previous year.
This is dirt I would normally put in my compost pile to recharge. But by putting more fresh organic materials above this layer, it will have the same effect.
Newspaper
Newspaper is another item that works wonderfully in raised beds. Just be sure to avoid the slick, colored ad inserts or paper that has a shiny coating.

Smaller pieces of cardboard
On top of the depleted soil, I tore up more cardboard and made a new layer. Since this is closer to the top 1/3 of the raised bed, I wanted to allow roots to easily make their way through this layer.
Shredded Paper
As a homeschooling family, we have no shortage of paper (lol). I saved up a bunch of our shredded paper over the winter, and added this on top of the smaller pieces of cardboard.
This is also a great way to recycle all that junk mail (minus any plastic inserts).
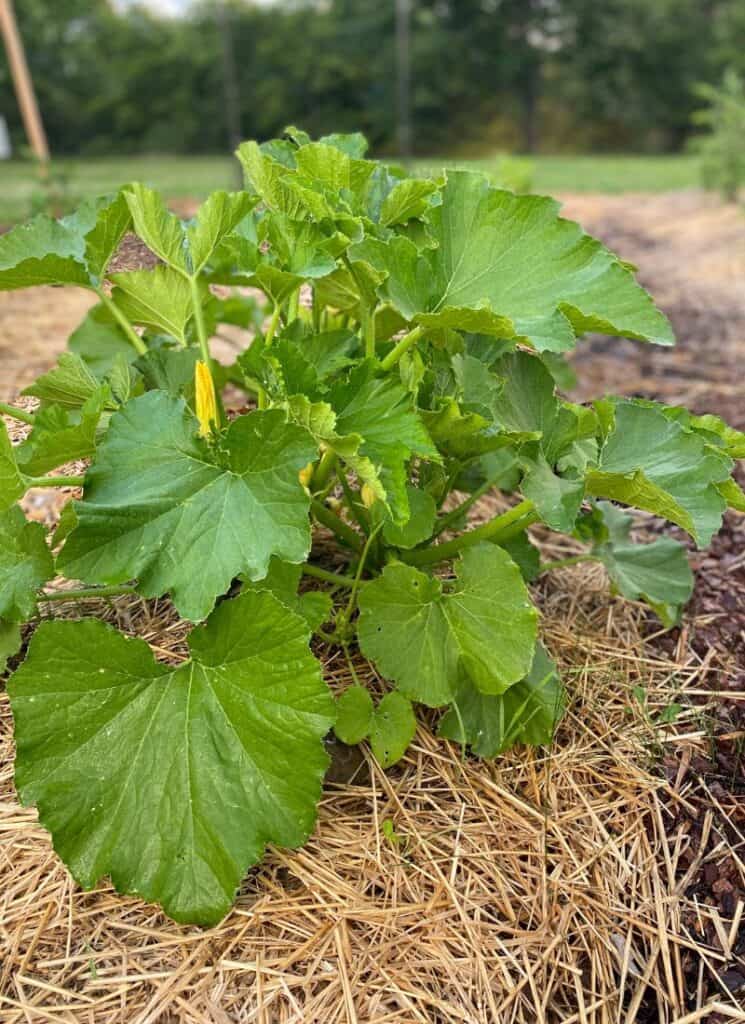
Straw
Since straw was an important layer in our original Raised Row garden, I knew that it could go right under the top layers of soil.

It helps with moisture retention and makes the soil more porous.
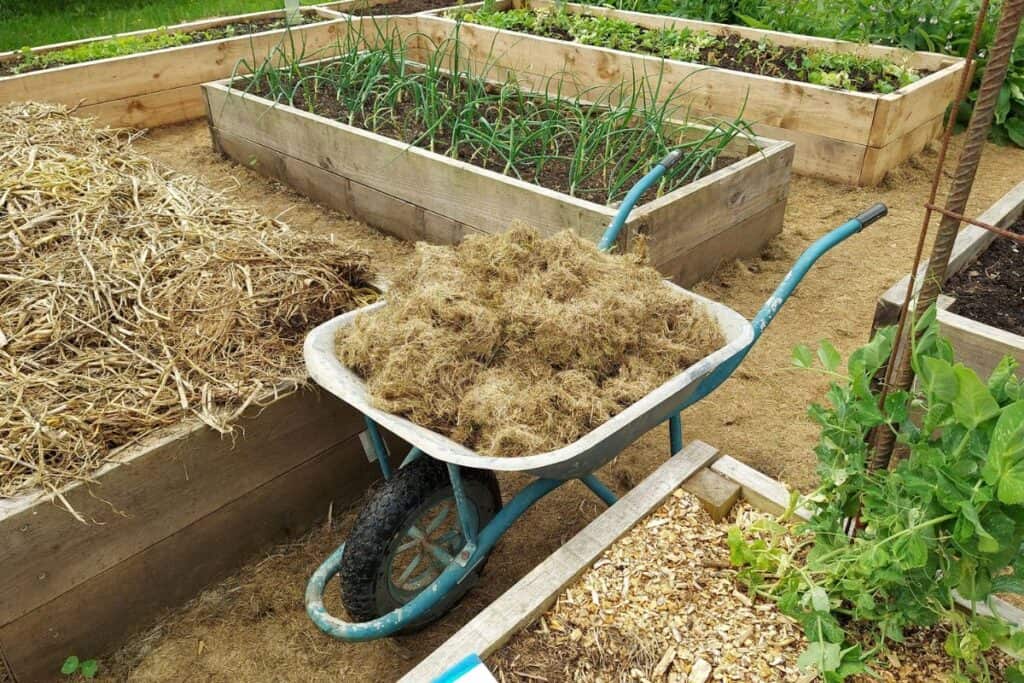
Aged Hay
You can use hay in place of straw, but you want to make sure it’s at least a few years old. Otherwise, you’ll likely have a ton of seeds, producing grass and weeds.
Like soil and other amendments, you’ll want to be careful where you source your hay and straw from, if organic gardening is important to you. Find out if the field has been sprayed with any chemicals first.
Dried grass clippings
If you have a mower with a bagger, you’ll save time. But if not, you can rake up those grass clippings like we do.
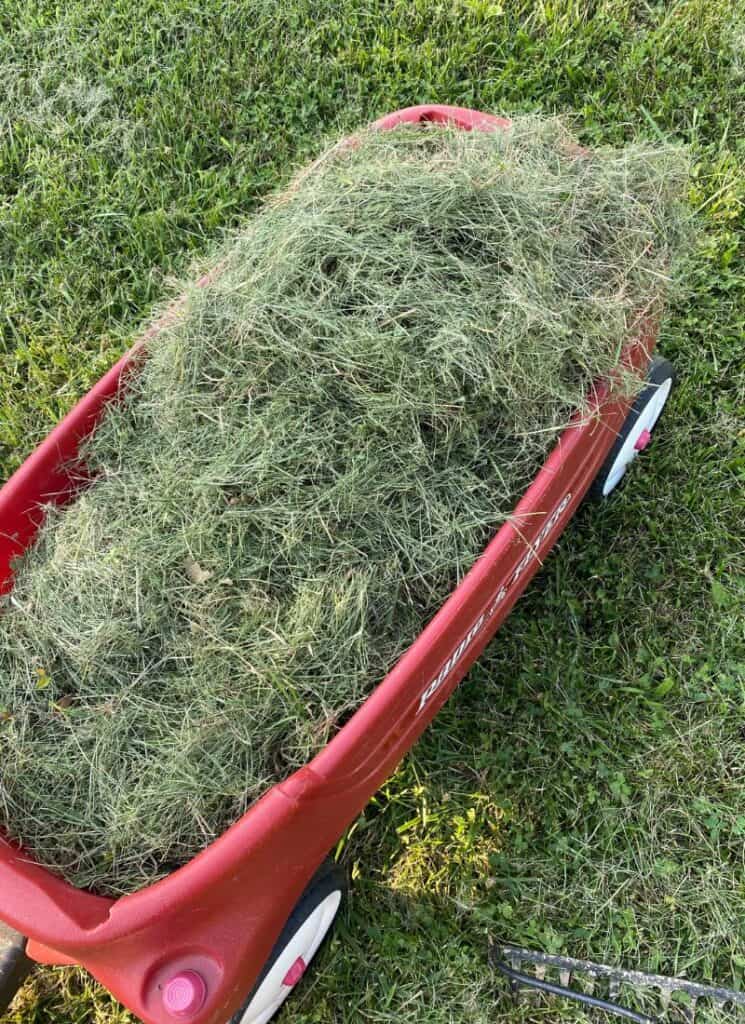
Simply dump them in the corner of the garden to dry out for a few days before adding them to your raised beds.
Garden soil
There are many options for the actual growing medium for your plants. You can always use cheap “fill dirt” or topsoil. But the lower quality dirt you use, the more amendments (nutrients) you’ll need.
Look for dirt that is labeled “garden soil” or “raised bed soil” for best results (and less work later on).
I like to mix some peat moss in with my garden soil for added moisture retention and to keep the soil from compacting too much.
Compost
The word compost can mean a lot of things- including all the layers underneath your soil, which will eventually turn into nutrient-rich compost.
But for the very top layers of your raised beds, you need something that is already composted and contains food for your soil. Completely composted manure (cow, chicken, rabbit) is a great option.
If you have a compost pile that has broken down into a fine soil underneath, this is your best bet. It can take time to get a compost pile going, but it’s worth it once you do.
Mulch layer
I also use straw as a mulch after my bedding plants are in, or my direct-sow plants are established. This keeps weeds at bay and allows me to water less frequently.
You can also use spent hay, pine needles, or dry grass clippings for this purpose.
Another tip: If you have your raised bed assembled in the fall or winter, you can do this process slowly before the next growing season.
This gives you more time to source items and layer whatever organic materials you find. And, the layers will have more time to soak up moisture and settle.
By the next season, all you should need to add is a little garden soil (depending on how much the contents of your beds settle). Then top with some fresh compost, and you’re ready to grow again.
You might also like:
Seed starting tips for beginners
Newbie gardening mistakes (learn from mine!)
What to plant in late summer for a second harvest