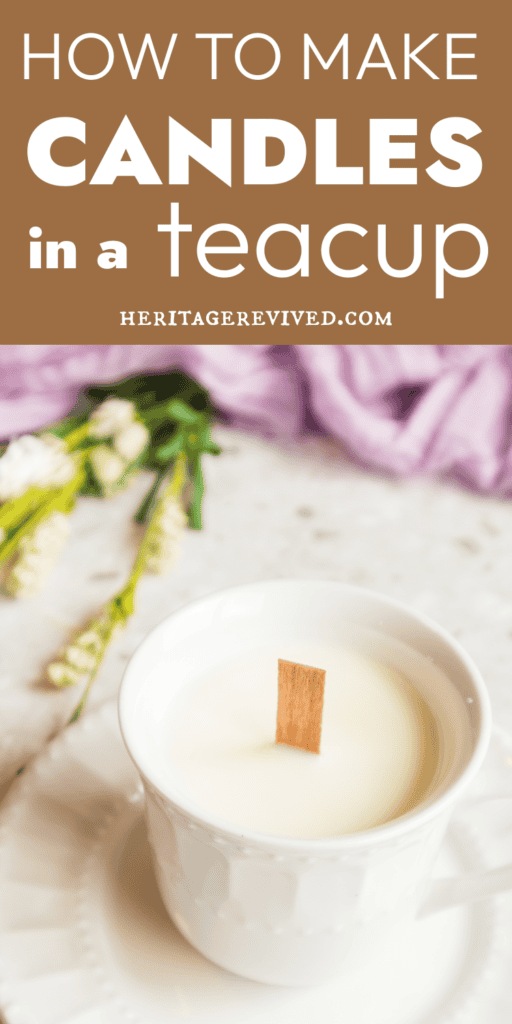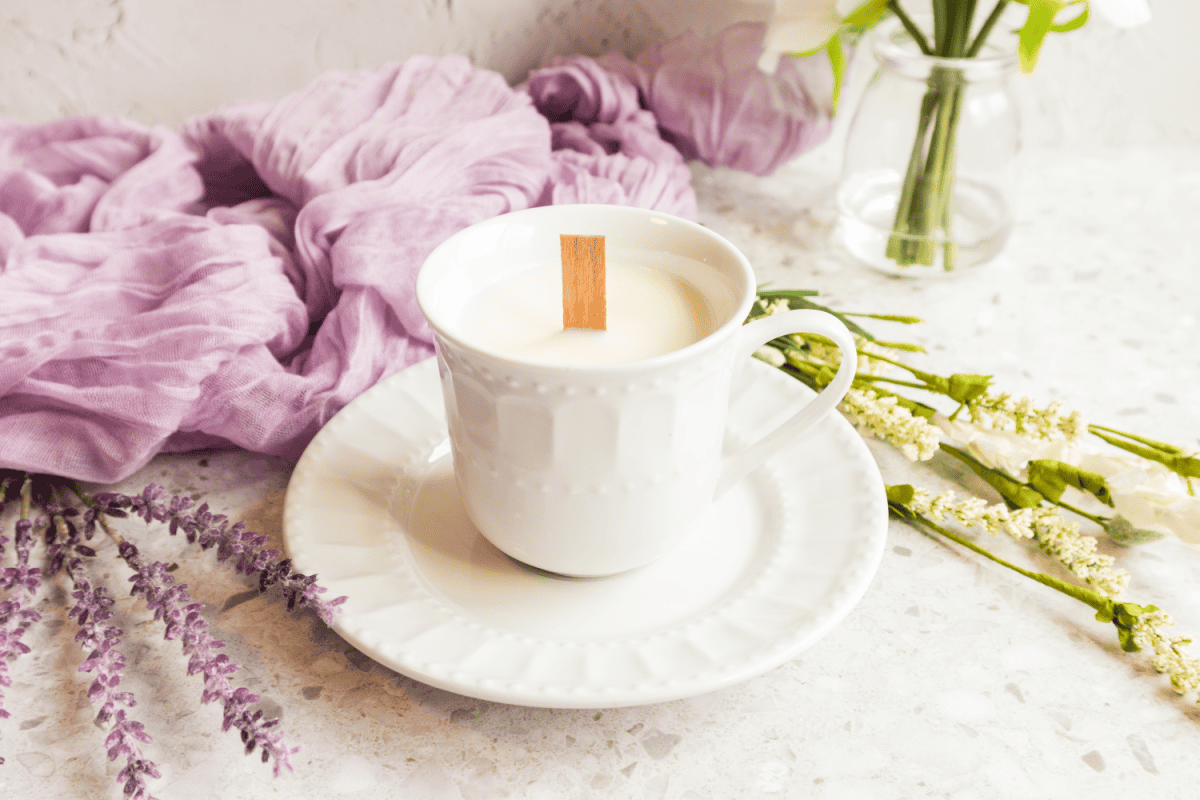
DIY Soy Candle in a Teacup
This DIY project creates a beautiful candle made with nontoxic ingredients.
There are so many ways to make candles, and I love trying them all.
Soy candles are a favorite as they’re simple, clean and easy to customize.
And when you add the whimsy of an antique teacup to hold your candle – it’s an even more satisfying project. 🙂
If you’ve ditched the chemical-laden Bath & Body Works candles but miss those pretty jars they came in – you’ll enjoy this easy DIY candle idea.
Using Soy for candles (vs. beeswax)
I typically only use soy or beeswax for candles in my home. Beeswax is wonderful and long-burning, but sometimes the honey scent doesn’t mesh with all the essential oil scents you might want to add.
So if you don’t want your candle smelling too sweet, soy is a neutral alternative that allows the essential oils to really come through.
Other benefits of soy candles? Soy wax beads are slightly less expensive than beeswax pellets.
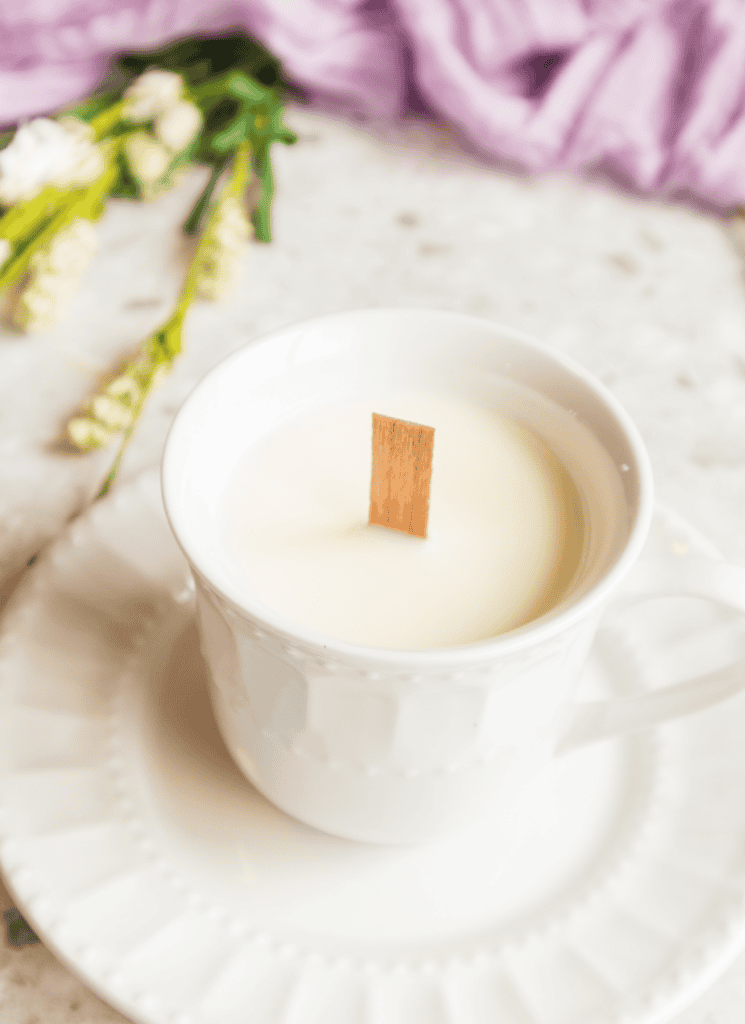
I’ve also read that a lot of soy candles you buy in the store are actually blended with parrafin, which contains several toxins. So by making your own soy candles, you can be sure to buy pure soy and get the benefits without any additives.
Soy has a lower melting point than beeswax, and this softer wax can be easier to work with, creating a smooth candle surface. It’s a great candle-making option for beginners.
Finding teacups for your candle project
The fun part, of course, is finding the teacups to contain your candles!
You’ll want to pair teacups with matching saucers if you can. The saucer will provide some extra insulation for your tabletop.
Optional: Glue the teacup to the saucer so you’ll always have them together.
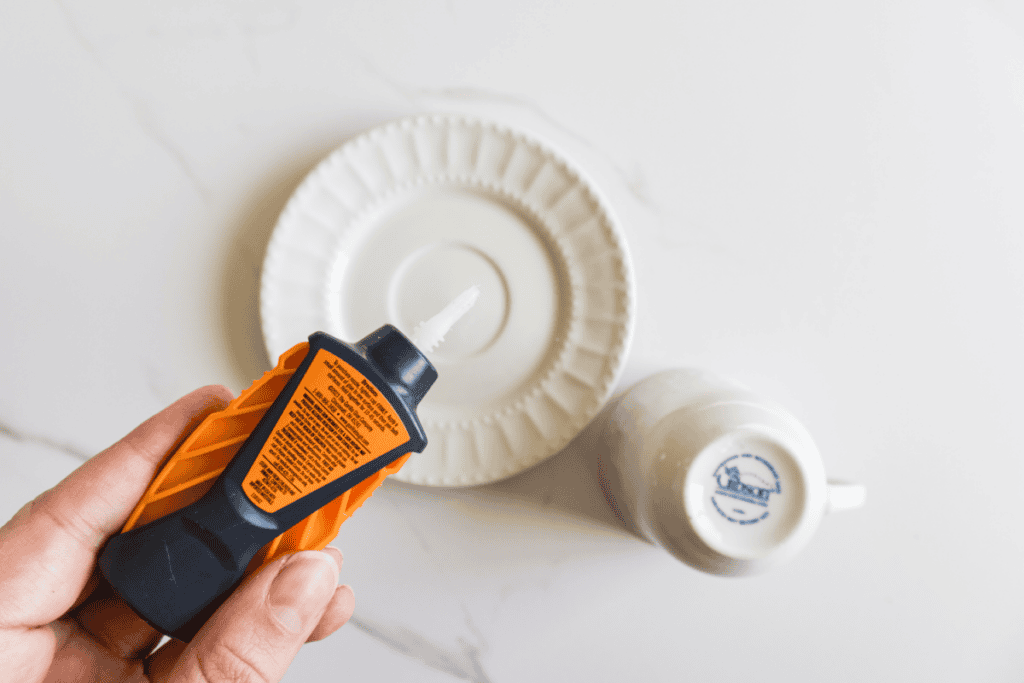
I love to find beautiful teacups (and tableware in general) at our local thrift stores. You can also find them on resale sites like Ebay, Vinted (my new favorite), Poshmark, etc.
And don’t forget garage sales or estate sales.
You can easily score a teacup and saucer set for just a few dollars (or even less) if you don’t mind doing some hunting!
Other supplies for making soy teacup candles
Other than soy wax beads, and the teacup and saucer, all you need is wood wicks and essential oils.
Wood wicks are much easier to use than regular candle wicks because they come with a handy little metal stand that holds them up at the bottom as you pour in the wax.
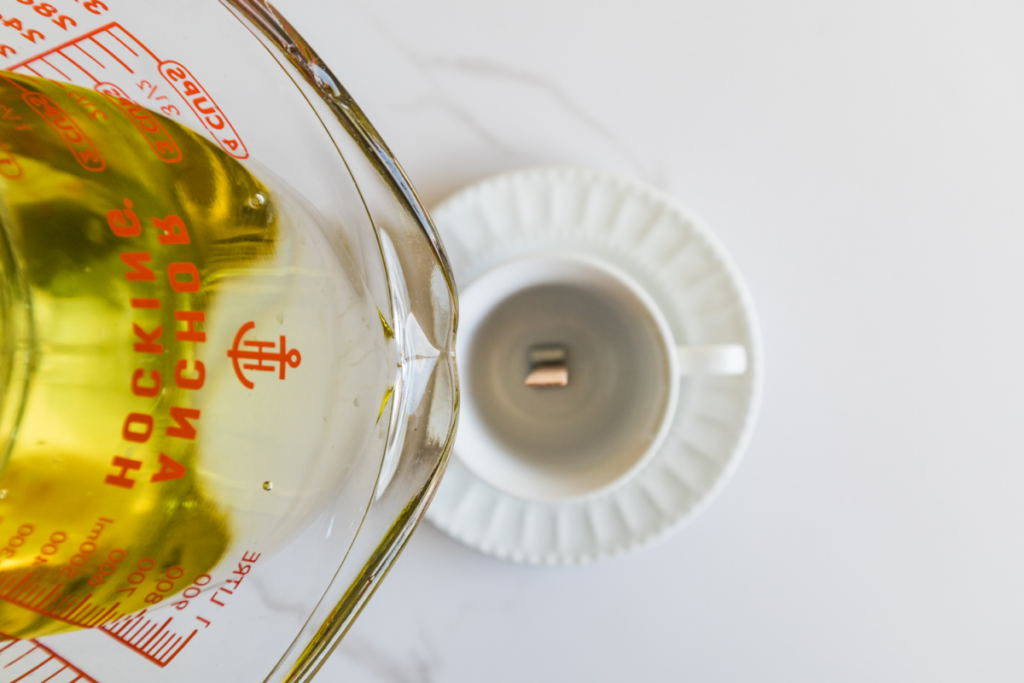
As for the essential oils, the scents are totally up to you! You want to use about 75 drops for adequate scent while burning your candle.
See the full process in the recipe card below. This recipe makes approximately 1 teacup candle.
You might be surprised how easy these are to make! Make up some cozy scents for fall and don’t forget gift-giving during the holidays.
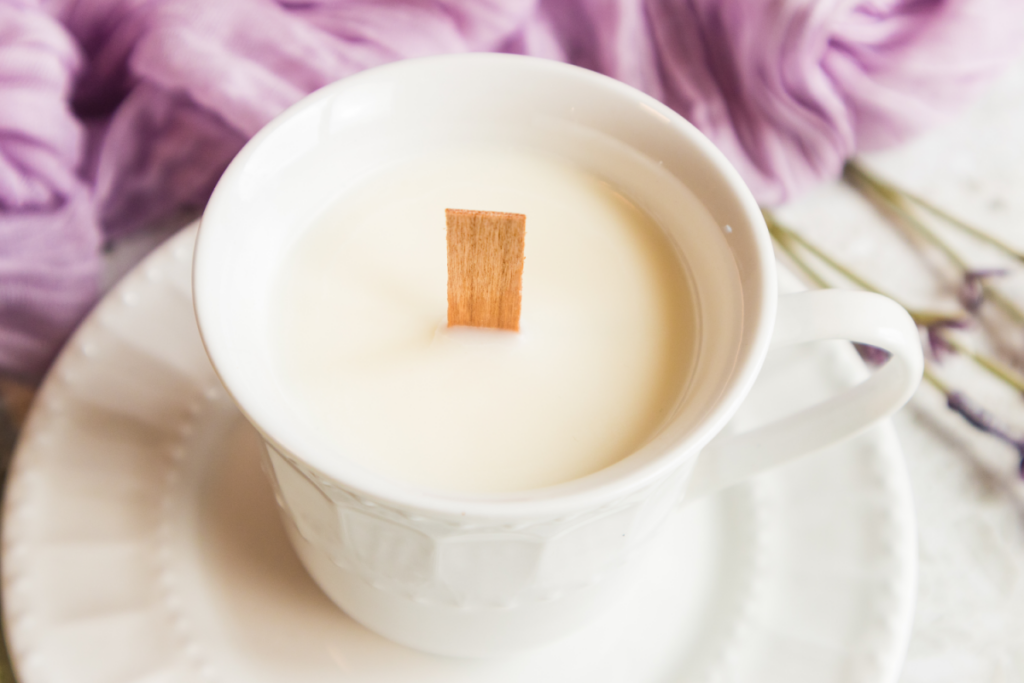
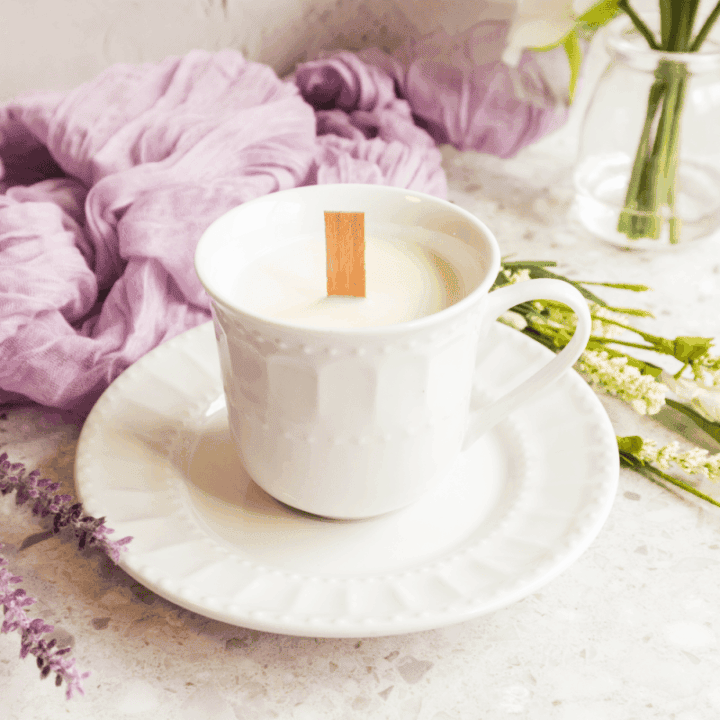
DIY Soy Teacup Candle
Create a clean-burning candle with a beautiful presentation.
Materials
- Teacup and saucer
- Wood wick
- Soy wax beads
- Essential oils
Tools
- Double boiler pan (or microwave safe container)
- Silicone or heavy plastic utensil (or wooden skewer) for stirring wax
Instructions
- Add the soy wax to a heat-safe container and melt using a double boiler, stirring occasionally until fully melted. You can also use a microwave- safe bowl such as silicone to slowly melt the wax, stirring frequently.
- While the wax is melting, secure your wooden wick to the bottom center of the teacup. If you get the wooden wicks linked above, they come with wick holders. Otherwise, you can use a bit of melted wax or a wick sticker to hold it in place.
- Once the wax is melted, remove from heat and let it cool slightly for about 1-2 minutes.
- Add your essential oils and gently stir to combine.
- Carefully pour the wax into the teacup, keeping the wick centered.
- Allow the candle to cool and fully harden for several hours or overnight.
- Best used within 6-12 months for the strongest scent.
Notes
Ideas for scents:
Floral & Relaxing (Spa-Like)
- 35 drops lavender
- 25 drops geranium
- 15 drops ylang ylang
Bright & Uplifting
- 30 drops sweet orange
- 25 drops bergamot
- 20 drops lavender
Calm & Grounding
- 30 drops lavender
- 25 drops cedarwood
- 20 drops frankincense
You might also like:
15 Healthy Homemade Gift Ideas
Beef Tallow Moisturizing Stick